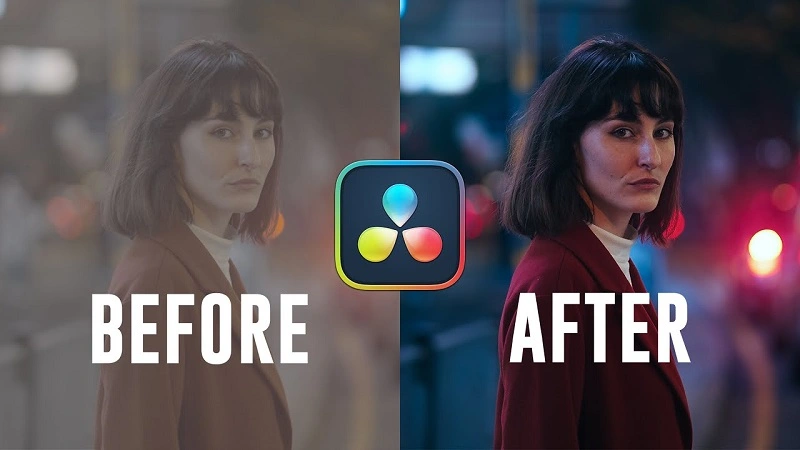
How To Color Grade in DaVinci Resolve
Color grade in DaVinci Resolve coerce it into the workflow and that is what it is most known. Here it comes with a simple step-by-step procedure for your start with color grading:
Color Grade in DaVinci Resolve
🧰Import Your Footage
- Open DaVinci Resolve and start a new project.
- From the Media tab, add your video clips.
- Drag them into the Edit timeline.
🎬 Switch to the Color Tab
- Click Color workspace at the bottom of the screen.
🎛️ Get to Know the Interface
Like Nodes (Top Left): Nodes function just like layers in photoshop so here in this section you apply effects.
- Viewer (Center) will be your area for looking at your changes.
Color Wheels (Bottom Left) include:
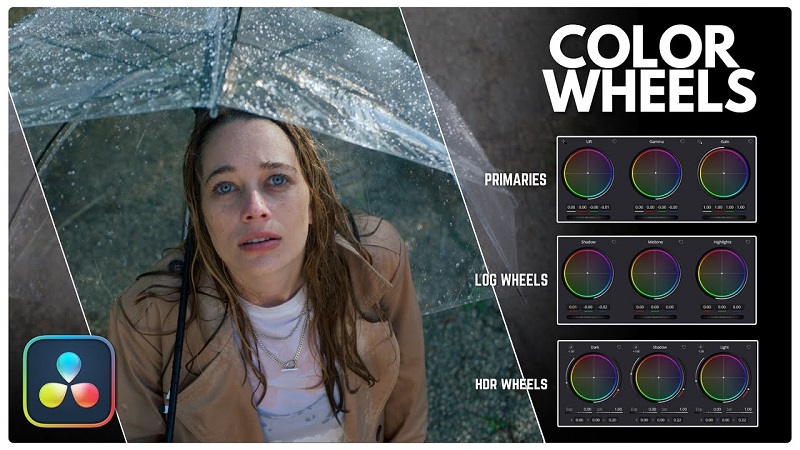
- Lift (Shadows),
- Gamma (Midtones),
- Gain (Highlights),
- Offset as Overall Image.
Scopes (bottom right): Good for accuracy: e.g., Waveform, Vectorscope, Parade.
- Sequential Stages for Basic Color Correction
A: White Balance:
Use Temperature and Tint sliders found in the Primary Wheels or Camera Raw tab. If you can, try the eyedropper tool with something neutral gray or white.
B: Adjust Contrast & Exposure
- Balance shadows with Lift, midtones with Gamma, and highlights with Gain little by little while sharpening.
- Punch the contrast into life but don’t cut off the highlights and shadows.
C. Saturation
- Use the Saturation slider to increase saturation and bring out colors.
- D. Shadows & Highlights
- Fine tonal range control is the ability to use curves.
- In primary curves, shadows/highlights adjustment is also done.
Utilize Multiple Nodes

- Right-click in the Node Graph > “Add Serial Node“, or press Alt+S.
- Sever the different nodes into exposure, color, effect, etc. for tidy grading.
Check with Scopes
- Make sure your Waveform and Vectorscope are confirming that your colors and exposure are okay.
- This is critical for skin tones and consistent across shots.
Render
- When happy with the grade, move to the Deliver tab.
- Make your choice in format, and then hit Add to Render Queue-Start Render.